
10 Creative DIY Vase Projects to Brighten Your Home decor
Are you looking to infuse some personality into your home decor? Look no further! DIY vase projects offer not only a creative outlet but also a fantastic way to showcase your unique style. Whether you're a seasoned crafter or a beginner looking for a fun weekend activity, these ten innovative projects will help you create stunning centerpieces and displays that will brighten any space. From upcycling everyday materials into eye-catching vases to exploring colorful designs, these DIY vase projects are perfect for anyone wanting to add a touch of charm to their home. Gather your supplies and let’s get started!
Shop All Vases Here!
Key Takeaways
- DIY vase projects offer an affordable way to enhance home decor.
- Repurposing everyday items like glass bottles and tin cans can create stunning vases.
- Using natural materials such as wood adds a rustic charm to home decor.
- Bright colors and fun shapes in vases can uplift any room's ambiance.
- Engaging in DIY vase projects encourages creativity and personal expression.
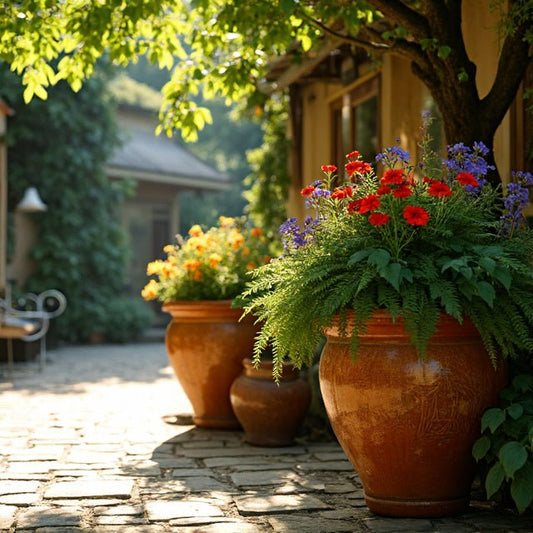
Introduction to DIY Vase Projects
Creating your own vases can add a personal touch to your home decor while allowing you to express your creativity. DIY vase projects are not only fun but also a great way to recycle old items and minimize waste. Whether you are looking for unique centerpieces or simply want to beautify your living space with flowers, there are countless DIY vase ideas that you can explore. From painted glass jars to upcycled tin cans, these projects cater to various skill levels, making it an accessible hobby for everyone. In South Africa, where craftsmanship and creativity flourish, these DIY vase projects can also reflect local culture and style, infusing your home with a sense of authenticity. With an array of materials and techniques at your disposal, you can dive into the world of DIY vases and discover how easy it is to create something beautiful.
Materials Needed for DIY Vase Projects
When it comes to embarking on exciting DIY vase projects, the right materials can make all the difference in achieving stunning results. First and foremost, you’ll need a sturdy base for your vase; glass jars, tin cans, and even recycled plastic bottles can serve as excellent starting points. To add flair, gather decorative items like twine, paint, or adhesive jewels to personalize your creation. Furthermore, consider incorporating natural elements such as pebbles or sand in the bottom of the vase to enhance its aesthetic appeal while providing stability for your floral arrangements. For those who wish to experiment with colors and textures, a paintbrush and some acrylic paint can completely transform an ordinary container into a striking centerpiece. Lastly, having a strong adhesive on hand will be invaluable for securing embellishments. By gathering these essential materials, you’re setting the stage for successful DIY vase projects that will bring your creative ideas to life.
'Creativity is intelligence having fun.' - Albert Einstein
Project 1: Painted Glass Bottle Vase
One of the most delightful DIY vase projects you can undertake is creating a painted glass bottle vase. This craft not only repurposes common glass bottles, but it also allows for endless creativity in design and color choice. To start, gather some clean, empty glass bottles—think about using old wine or soda bottles. After ensuring they are spotless, you can apply a coat of acrylic paint. Popular choices include pastel colors for a soft look or vibrant hues to make a bold statement. Be sure to use outdoor-friendly paint if you plan to place your new vase outside. Once dried, consider adding decorative elements such as twine or rope around the neck of the bottle for a rustic touch. You can even use stencils to create intricate patterns or designs, enhancing the visual appeal of your DIY project. This versatile project not only enhances your home decor but also offers a sustainable way to add beauty to your space. Once your masterpiece is complete, fill it with fresh flowers or succulents, and enjoy the delightful transformation of your space. Tackling DIY vase projects like this is a fantastic way to unleash your creativity and personalize your home in an eco-friendly manner.
Shop All Vases Here!
Project 2: Upcycled Tin Can Planter
Upcycling materials is a fantastic way to create beautiful and functional home decor, and one of the most creative DIY vase projects involves using tin cans. This eco-friendly initiative not only reduces waste but also allows you to express your artistic flair by transforming plain tin cans into charming planters. To get started, gather a few empty tin cans, some decorative paint, and your choice of plants or flowers. First, thoroughly clean the cans and remove any labels. Next, paint them in vibrant colors or wrap them in twine or patterned paper for a rustic look. Once dry, you can punch holes in the bottom for drainage and fill them with potting soil. Plant your favorite herbs or flowers, and watch as your upcycled tin can planters become a focal point in your home or garden. This project not only enhances your space but serves as a perfect introduction to the world of DIY vase projects, perfect for beginners and seasoned crafters alike.
Project 3: Rustic Wooden Crate Vase
If you're on the hunt for a charming and creative way to add some rustic décor to your home, look no further than a DIY wooden crate vase project. This project is not only budget-friendly but also allows you to express your creativity while crafting a stunning centerpiece that harmonizes with your living space. To get started, gather some materials that typically includes small wooden crates or pallet wood, wood glue, sandpaper, and a coat of paint or wood stain for that perfect finish. Once your materials are ready, you can begin assembling your rustic wooden crate vase. Start by cutting your wooden pieces to size, ensuring that the dimensions will allow for a variety of floral arrangements. Assemble the pieces using wood glue, and secure them with clamps while they dry. After the structure is solid, take the time to sand down any rough edges for a smooth finish. Then, you can enhance the aesthetic with a rustic stain or a bright paint color to fit your style. Finally, add a protective liner to the inside of your crate to prevent moisture damage from the flowers and water. Fill your new DIY vase projects with fresh blooms from your garden or dried flowers for a seasonal touch. Each rustic wooden crate vase you create can be uniquely designed to suit your style while also serving as a beautiful statement piece in your home or garden. Not only does this project allow you to upcycle materials, but it also encourages creativity in crafting personalized home décor.
Frequently Asked Questions
What materials do I need for DIY vase projects?
You will typically need common materials such as glass bottles, tin cans, wooden crates, balloons, paints, and adhesive. Specific projects may require additional items like twine, flowers, or decorative elements.
Can I use recycled materials for DIY vase projects?
Absolutely! Many DIY vase projects encourage the use of recycled materials such as old glass bottles and tin cans, which not only saves money but also adds a unique touch to your decor.
Are these DIY vase projects suitable for beginners?
Yes, most of the DIY vase projects listed are beginner-friendly and can be completed with basic crafting skills and tools. Clear instructions are provided to guide you through each project.
How long does it take to complete these DIY vase projects?
The time required varies by project, but most can be completed in a few hours. Some may take longer if you need to wait for paint or glue to dry.
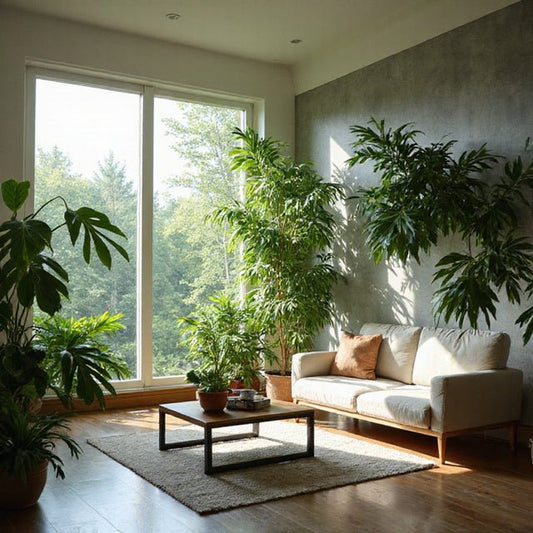
Where can I display my DIY vases?
Your DIY vases can enhance various areas in your home, including living rooms, dining tables, entryways, and even outdoor spaces, adding a personalized touch to your decor.